
Whether you're selling your house or are keen to explore your new home from a fresh, exciting angle, there's no denying the appeal of drone camera aerial photography. The sky provides a great vantage point for shooting your entire home, and can capture it in the context of its surrounding landscape or neighbouring buildings. This last point in particular is crucial if you're thinking about putting your property on the market, with many prospective buyers keen to know about the location of their potential new home.
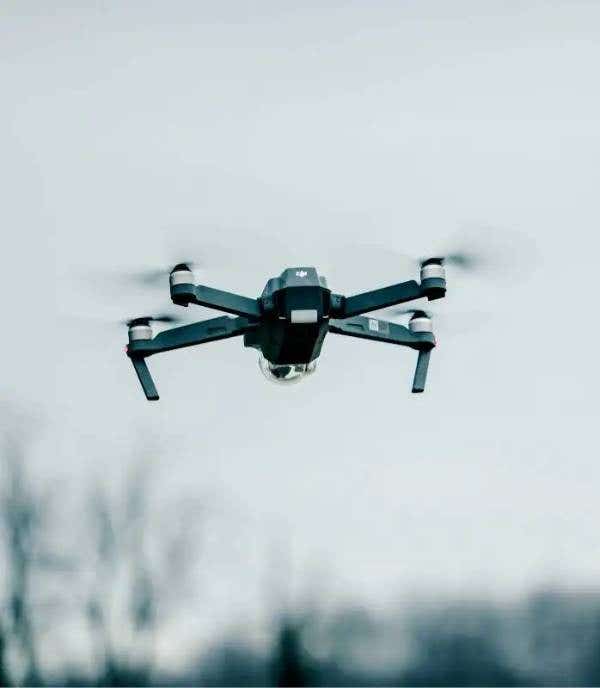
Luckily, thanks to advances in drone technology, aerial photography has never been easier. Today's drones are lighter, more responsive, and easier to use than ever - meaning you can capture great shots, even if it's your first time shooting from up in the air. Ready to get started? From which settings to use to the best drones for aerial photography, discover our top real estate drone photography tips below.
The benefits of real estate aerial photography
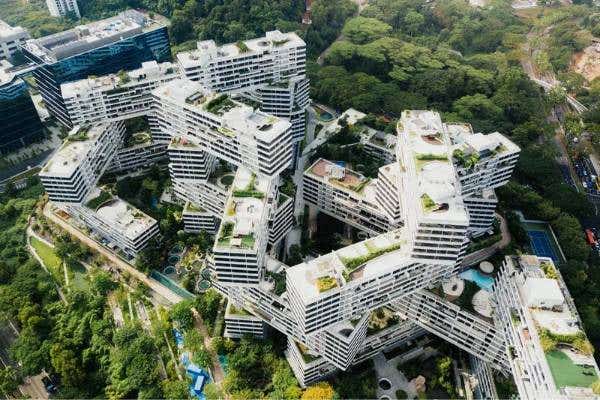
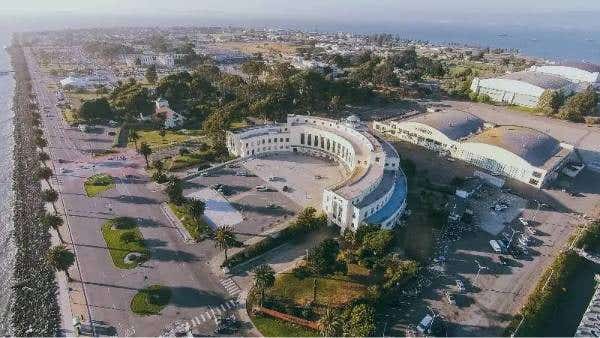
While bird's eye photographs have long been a staple of real estate photography, drones have opened up a range of new possibilities for aerial photography including "flyovers", or short videos taken from the sky. The sky-high angles make it possible to capture the home in its broader context - whether this means the property boundaries, street, or suburb as a whole!
For this reason, aerial photography has become a popular way to tell viewers about a particular property and key features like nearby parking, green space, and surrounding roads. Flyovers also play a critical role in selling larger commercial property developments, such as land for shopping malls, apartment complexes, or similar.
Aerial drone photography 101: Safety first
Whether you're shooting in a busy inner-city area or sleepy suburb, the same golden rule for flying a drone applies: Always put safety first. Before you even think about getting your drone off the ground, it's important to read and understand all the rules and regulations in your area and make sure that you comply with them. Also be sure to plan your flight path ahead of time, being mindful of any obstacles like power lines or tall trees, and take your drone out on a few test flights before the big shoot.
If you're filming in a residential area, it's a good idea to practice common courtesy and notify your neighbours of your plan beforehand so that you can reassure them of their privacy and answer any questions they may have. Finally, if you're filming for work or other commercial purposes, you may need to apply for a remote pilot licence.
Top Tip: Make sure you're on top of the latest drone regulations by regularly checking the Australian Civil Aviation Safety Authority (CASA) website for updates.
Our top aerial drone photography tips
Once you've looked into all the relevant safety considerations and addressed them accordingly, it's finally time to take to the sky! To ensure that you get the best possible images and videos the first time around, follow our drone tips below.
1. Use intelligent flight modes
Most modern drones feature a number of intelligent flight modes that automatically choose the right settings for your shooting conditions. These modes make it easier to control your drone, leaving you free to concentrate on the actual content you're capturing.
Top Tip: Hover modes are your best bet for capturing a bird's eye view of your property, while point-to-point flights help you capture your home from various angles.
2. Take a mix of still images & videos
Make the most of your time in the air and capture a mix of still images and video footage, both of which can easily be woven together in post-production. Stills can be edited to include text overlays, which are helpful for including basic measurements, highlighting nearby landmarks, and pointing out other key features.
Top Tip: It's always best to overshoot and have to sift through more content at the editing stage than to have to schedule another shoot, so always take more shots than you think you need!
3. Keep it short & snappy
While it's important to use your flyover to show as much of your property as possible, remember that you're not shooting a feature-length film. Each scene in your flyover should be long enough to capture the viewer's attention but short enough that they don't lose interest before the clip is over.
The best drones for aerial photography
Find your home's best angles with real estate drone photography
Give your home the cinematic treatment by following our handy guide and trying out aerial photography. A well-shot flyover can help you see your home in a new light and, more importantly, encourage potential buyers to learn more about your property. With our aerial drone photography tips, it's possible to start shooting great aerial stills and videos today, no previous pilot experience needed.
Ready to get started? Discover the best buy drones in 2023 or find more videography tips on our blog today!
0 comments