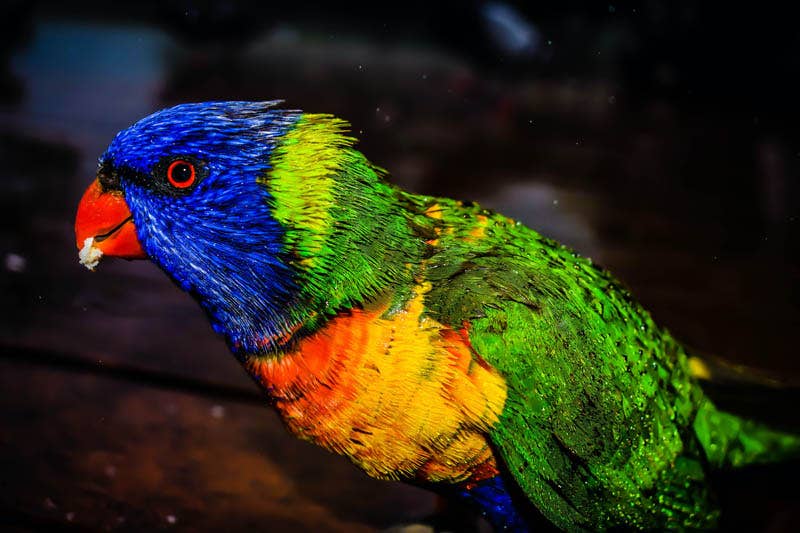
5 Tips to Master Bird Photography From Home
Birdwatchers can vouch for this - Australia has a large population of beautiful birds and the best part is, they often come to visit in our front yards.
Whether you want to know how to capture Cockatoos, Lorikeets, or even common Magpies with your digital camera, here are our 5 tips that you can use to master bird photography from your home.
1. Encourage more feathered visitors
Native birds need a reason to visit your yard - the won’t just stop by for a chat. Obviously, their main reason for a visit is food and clean drinking water. If you are really keen you can plant a native garden to attract visitors. Most of us, however, will go for the easier option of a bird feeder and a birdbath.
Try setting up perches made from twigs and branches for birds to rest on but keep in mind that birds are smart and wary little creatures, so keep these spaces safe from predator's eyes.


2. Be an early riser


If you tend to enjoy your sleep-ins just a little bit more than the next person, bird photography could be a way to motivate yourself, and break this habit. Birds are noticeably more vocal in the early morning hours - and these times are also the best for you to capture them in action.
Set your alarm for sunrise and head out to your little homemade bird haven with a fresh cup of coffee. This is sure to be the most successful time of the day to master bird photography.
3. Use a telephoto lens
Birds, like most wild animals, get frightened quite easily, so, for this reason, you can’t get too close to them before they retreat for safety. The best way around this? Mount a telephoto lens on your camera.
A telephoto zoom lens is the most versatile, as you can zoom in and out to find the best composition. With the right lens on your camera, you can satisfy your need for the perfect cropped photograph, without your model flying off and you missing your shot altogether.
Lenses with brighter maximum apertures can be pricier, but the shallow depths of field that they provide are perfect for isolating birds from busy backgrounds.


Shop the best lens for bird photography
4. Have your camera set-up and ready


Whether you shoot handheld or with a tripod is up to you - both can be successful when it comes to bird photography. You may want to start out with your camera setup on a tripod, pre-focused on your feeder or perches, as you wait for your feathered models to arrive.
As birds will get spooked if you pounce on your camera to take a shot as soon as they land, make sure your movements are slow and quiet. A remote control is a great option for firing your shutter with minimal movement or sound.
The best camera settings for bird photography are as follows:
- A fast shutter speed
- A bright aperture
- ISO should then be set accordingly
We recommend taking a few test shots to assure your exposure is spot on before the birds start arriving to feed or rest.
5. Adapt to your surroundings
It is worth noting that not every home or yard is the same. If you are cramped for space or you don’t have room in your budget for extra gear, you can still use these tips to improve your bird photography - you just need to adapt them to suit your surroundings.
A bird feeder hung from a balcony can still entice plenty of visitors. If you don’t have a backyard, you can even take some pleasing shots out of your window. Open the window if you can, or if not give it a clean and use a polarising filter to reduce the glare.
If you are using your smartphone to take your photos, there are numerous accessories that you can purchase to improve your results, including phone grips and stands, and clip-on lenses.


Start your bird photography portfolio today
Bird photography is fun and relaxing and you can enjoy it from the comfort of your own home.
If you need a little more guidance understanding basic camera settings, or you a looking for more ideas for staying creative while at home, stop by our blog regularly.
Next Post
How to Use Colour Theory in Photography
Previous Post
How To Master Real Estate Drone Photography


