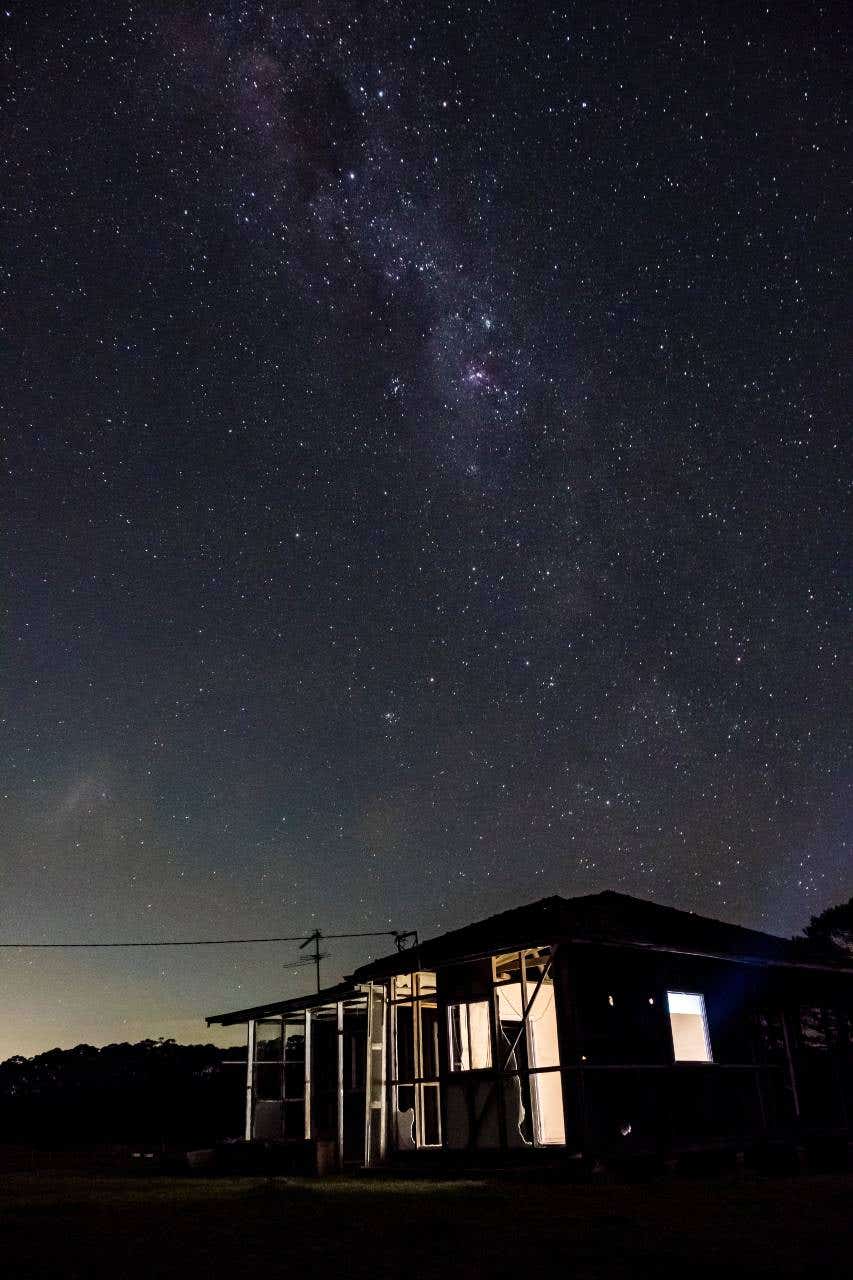
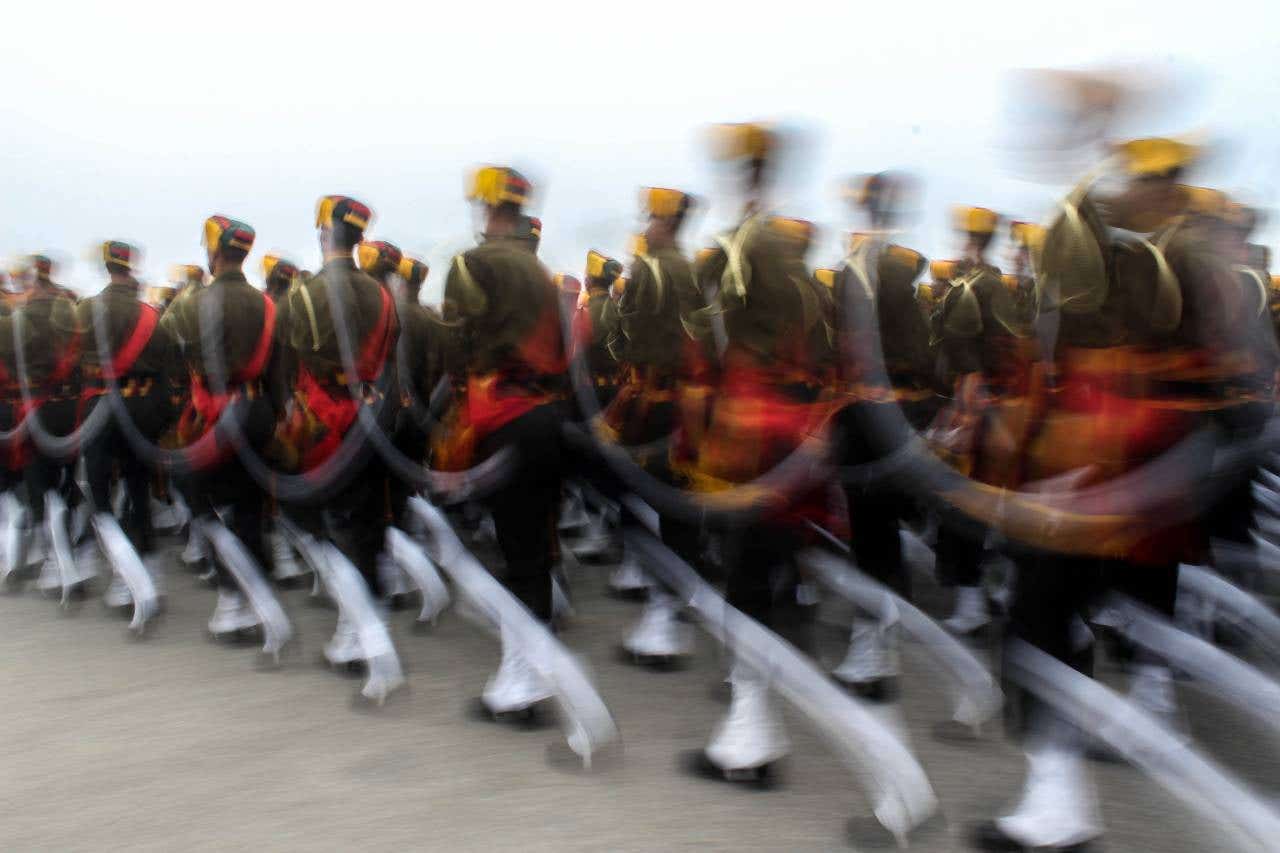
Capturing a well-exposed and blur-free photo in a manual mode really comes down to understanding the exposure triangle - aperture, shutter speed and ISO. Mastering all three will allow you to step away from automatic mode and start experimenting with manual photography. Gain a fundamental understanding of the exposure triangle with Ted's complete guide.
What is the exposure triangle?
Referring to three key camera settings - aperture, shutter speed and ISO -, the exposure triangle determines the amount of light captured in an image. All three work in unison in order to balance your exposure, meaning that changing one of the settings in the photography triangle will require you to adjust another in order to keep the same exposure. By mastering how to tweak all three to get your desired result, you can produce well-exposed photos.

Understanding the three camera settings in the exposure triangle

ISO
The ISO setting determines the sensitivity and the amount of light captured in a single image. For example, a lower ISO is best for brighter conditions and reduces the risk of overexposure. In comparison, a higher ISO setting is required for harnessing enough light in dim conditions. Keep in mind that higher ISO settings result in more image noise and grain, so it's best to raise this setting gradually to keep your images looking sharp.
Shutter speed
The shutter speed is the length of time that a shutter remains open to capture an image. But how does shutter speed affect exposure? The slower the shutter speed, the longer it remains open, allowing more light to enter and expose your image. To capture fast-moving objects, like an athlete, wild animal or fast car, you'll want to use a fast shutter speed.

Slower shutter speeds can introduce camera blur into your photos if unstabilised. To avoid this, either mount your camera to a tripod or switch to a faster shutter speed. That being said, photographers can use slower shutter speeds to emphasise motion blur, such as in waterfall photography.

Aperture
Aperture refers to the amount of light captured by your camera lens and the size of the opening at the front of your lens. Presented in numbers known as f/stops, aperture settings get tricky because a smaller number, such as f1.4, is actually a larger aperture (or opening). A higher number, like f16, is a smaller opening, so it lets in less light.
Aperture setting also determines the depth of field of your image how much of your image is in focus or how distant an item is in the image before it's out of focus. An image with a shallow depth of field will have less of the foreground and background areas in focus, making your central point of focus stand out. Conversely, images with a deep depth of field will have several areas in focus, from your central point to the background.
How to balance exposure settings
Each setting of the exposure triangle is linked to the others, meaning that you need to learn how to balance aperture, shutter speed and ISO in order to create well-exposed photos. Here's how to balance exposure settings depending on the context you're in and the result you're trying to achieve:
Sports photography: Capture fast-moving athletes will require you to use a fast shutter speed, hence a larger aperture (a smaller f/stop number) or higher ISO to compensate.
Bokeh portraits: To introduce bokeh or background blur to your photos, use a large aperture (a smaller f/stop number) alongside a faster shutter speed or a lower ISO.

Landscape photography: To capture expansive vistas, select a small aperture (a high f/stop number) and low ISO setting to keep your image sharp. Balance your shutter speed accordingly.
For more brilliant tips on camera settings and photography, be sure to check out our photography blog. Now that you have a few tricks under your belt to capture photos in manual mode, shop the best DSLRs, mirrorless cameras and lenses online to take your photography to the next level.


0 comments
Leave a comment