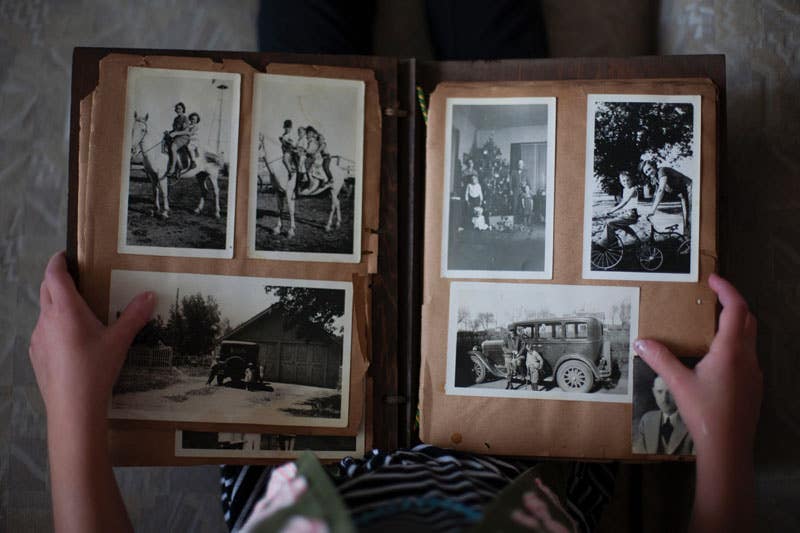
If you own a film camera or grew up during the golden age of film photography, chances are you've got plenty of printed photos. From family and school photos to holiday happy snaps taken on a disposable camera, most of us who lived through the heyday of film photography have albums - if not boxes - filled with film photos. While flipping through these albums or photos can be a great way to take a trip down memory lane, let's be real: This isn't something that happens too often! For many of us, our old photos are hidden away in cupboards or storage, and are often forgotten.
Digitising photos and negatives is one way to ensure that your old photos don't suffer this fate. Converting your film photos into digital images can breathe new life into them, and open up a range of possibilities for editing, sharing, and preserving them. Below, we've put together a guide on how to digitise old photos and negatives, including all the gear you need to do it properly. Read on to discover our top tips on digitising photographs.
1. Learn how to scan your own negatives
If you've lost track of the actual printed photos or if they have signs of wear and tear such as scratches, dirt, or rips that you'd rather not replicate in the digital versions, consider investing in a negative film scanner. These handy photography accessories allow you to scan in your negative strips and convert them into digital files that can be reprinted, edited, and shared.
By using a negative scanner, you'll be able to recreate the signature grain and "feel" of film photography with all the benefits of modern digital images. Using a dedicated negative scanner also means that you won't have to invert the colours into "positive" images after scanning - your scanner's in-built software will do that for you!

Top Tip: Try scanning in old negatives and cropping them artfully for fun, fresh #throwbackthursday social media posts.
2. Scan your old photos with a Photo Scanner

If your photos are in good condition and you have a standard flatbed photo scanner, we've got good news: You can use this to digitise your old photos! Rather than fiddling with your negative strips and a negative film scanner, flatbed scanners allow you to simply lay photos on the scanner bed and scan them straight onto your computer. You can even scan multiple photos at once, making this the obvious choice in terms of speed and convenience.
For best results when converting photos to digital at home, look for a high-end flatbed photo scanner, which will give you better image quality and colour accuracy. You can even scan photo negatives on a flatbed scanner - just remember that you'll need to use your favourite photo editing software to convert the colours into "positive" images afterward if your scanner's software doesn't do it for you.
Top Tip: If you are planning to scan both negatives and photos, do your research and try to find a flatbed scanner with negative-scanning capabilities.
3. Focus on quality
While scanning old photos and negatives is generally a fairly straightforward process, there are a few tips that can make scanning old photos at home even easier.
To ensure that you get the best possible results every time, make sure you:
- Clean your media before scanning. Dust and hair are really obvious on scans, so do your best to clean these off before you scan. Use a blower brush and be gentle to avoid damaging the surface of your photo or negative.
- Experiment with auto-correction features. In some cases, using the "Autocorrect" setting on your scanner does a world of good, while in others it can overdo the edits and ruin the charm of the picture. We suggest making a copy with "Autocorrect" turned on, inspecting your results, and rescanning without corrections if necessary.
- Take advantage of digital editing. Curves, levels, and saturation are simple edits that can do wonders to the look of a photograph when used correctly. Scanning film and photographs allow you to harness this digital editing with your analogue images, which shouldn't be ignored.
- Don't crop too hard. Remember that you can always crop your photo down during the editing stage, so aim to scan in as much of your image as possible.
- Scan at a high resolution. Always leave the door open for resizing your image in future by scanning at a high resolution. It's easy to downsize an image, but increasing its size requires a re-scan.

4. Share your new digital images

One of the best things about saving old photos to digital devices is the freedom it gives you to share and present them as you please. Publishing photos online or emailing them to loved ones is a far more convenient way to share them than popping prints in the post, and is a fantastic opportunity to step back in time and reminisce.
If you're feeling creative, you can also turn your digital photos into poster-sized prints or canvases by taking them to a modern photo lab. Alternatively, you can preserve them in the pages of a DIY photobook, which you can embellish and arrange to tell a particular story in a fun, engaging way.
Start scanning today
Relive fond memories while digitising photographs at home
Scanning old photos and negatives is a great way to give your old photos new life and ensure that they last for years to come. Plus, it's a fun opportunity to take a trip down memory lane and revisit your favourite memories from years gone by. If you would rather leave things to the professionals, Ted's cameras can scan your photos to a digital file for you.
Follow our tips above and start scanning old photos and reminiscing about the good old days today, or head to our blog for more photography tips and tricks!


0 comments
Leave a comment