Chances are, you bought your DSLR for its incredible image quality. But did you know that modern DSLRs are more than capable of filming cinema-like footage? When you're ready to make your directorial debut, check out our guide to shooting video with a DSLR for beginners.
Set yourself up for success
Before you press 'record,' adjust your camera settings for video. When it comes to filming, these are the DSLR video settings:
- Frame rate - This refers to the 'frames per second' setting, and it's a personal preference. If you want a video that reflects real life, go for 30fps. For a cinematic finish, try 24fps. And if you're aiming for a slow-motion effect, choose a higher frame rate such as 60fps. You'll be able to slow down the footage during editing.
- Aspect ratio - Select an aspect ratio that can be maintained during the output stage. That way, you'll avoid cropping out any essential subjects while you're filming.
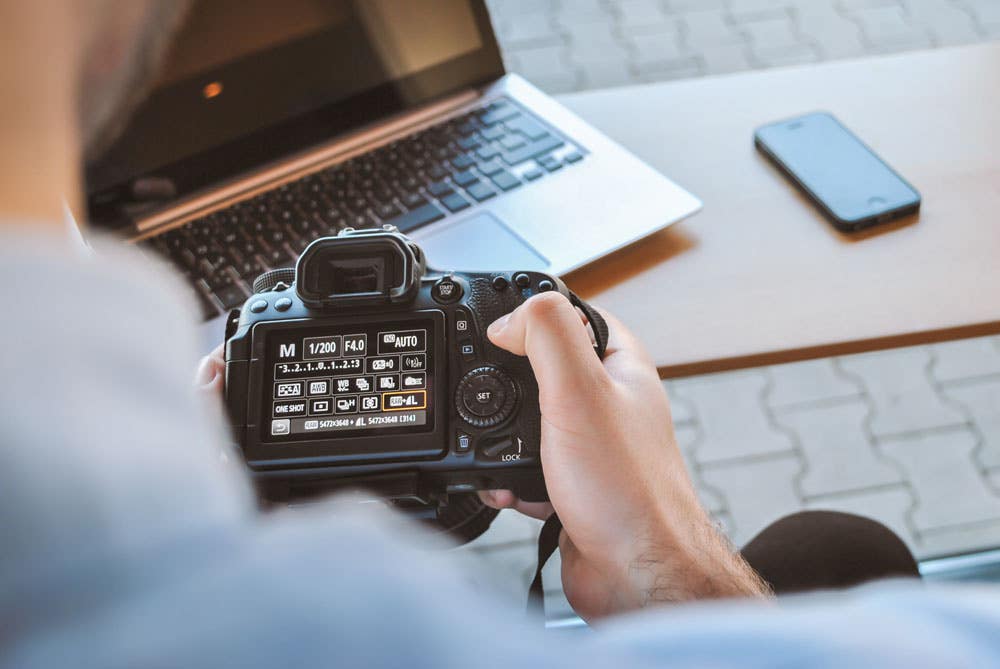
- Resolution - Most new cameras can record 4K resolution video. But while you can record in 4K, that doesn't always mean you should. Many cameras can't produce their highest resolution at a high frame rate, so if you're hoping to film slow-motion footage, you'll need to decide what matters most to you.
Tweak the exposure
In photography, ISO, aperture and shutter speed make up the 'exposure triangle.' They control how your photo turns out, so they're essential tools but many people overlook these settings when they're filming. You can adjust these settings to produce darker or brighter footage, and it's best to tweak all three at once. If you're a complete beginner, you can film in automatic mode. When you want to take the reins, here's what to do:
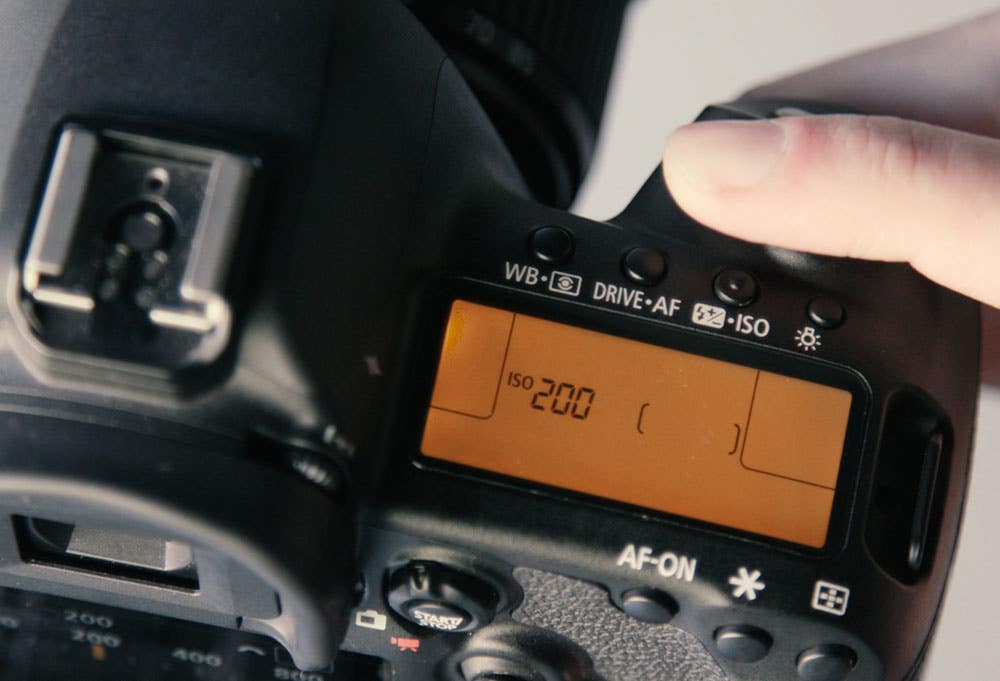
- ISO - This refers to your camera's sensitivity to light. Just like in photography, a higher ISO suits indoor and low-light settings, but it can result in image noise. We suggest choosing a low to moderate ISO at first, and keeping an eye on the brightness of your image and raising the ISO accordingly. If you're new to photography, you can leave this setting on auto and manually adjust the shutter speed and aperture.
- Aperture - This describes the size of the lens opening, which lets in light. It can be confusing because a smaller aperture is a higher number. For example, a small aperture of f16 will shut out some light, but it will bring more of your shot into focus. On the flipside, a larger aperture (like f1.8) will let in more light and create a shallow depth of field so that less of your shot is in focus. When you're filming, adjust the aperture to suit the scene in front of you.
- Shutter speed - This is the length of time your lens is open during exposure. When possible, double your frame rate to find your shutter speed. Let's say you're shooting at 30fps. Set your shutter speed to 1/60 of a second. If you're shooting at 60fps, set it to 1/120 of a second for smooth footage.
Change the lenses
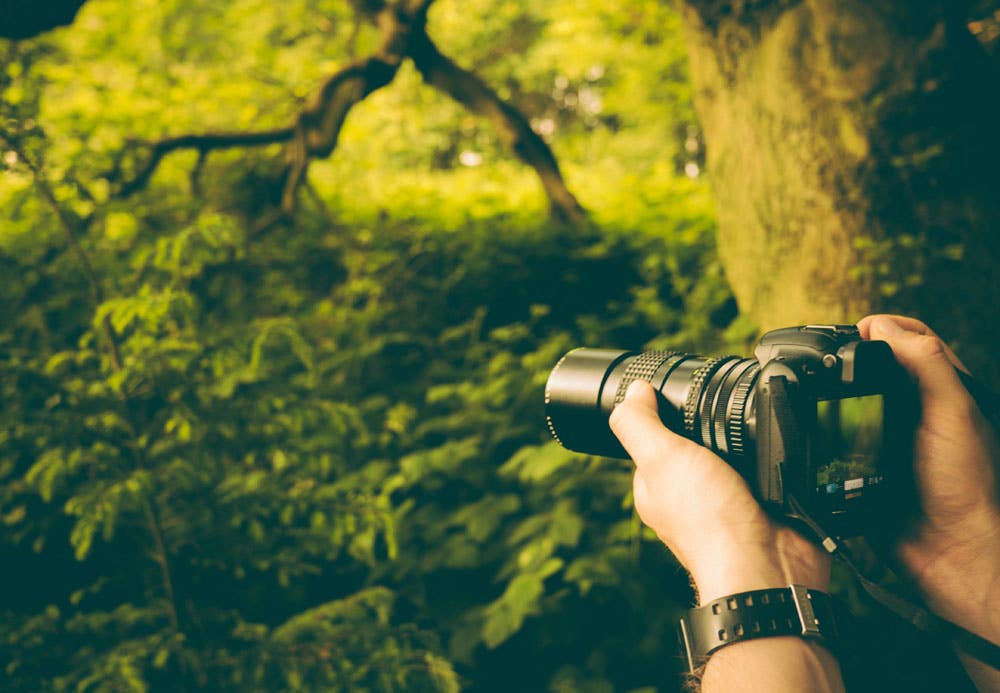
With a DSLR, you can switch out the lenses as needed. For the best footage, use a lens that will best capture your subjects. It's worth investing in a few prime lenses, so that you have a range of focal lengths at your fingertips. We suggest using a wide-angle lens to film landscapes and scenery, a standard-length lens for people and general filming, and a telephoto lens for wildlife and distant subjects. Prime lens require skill and patience, but are extremely rewarding once you get the hang of it.
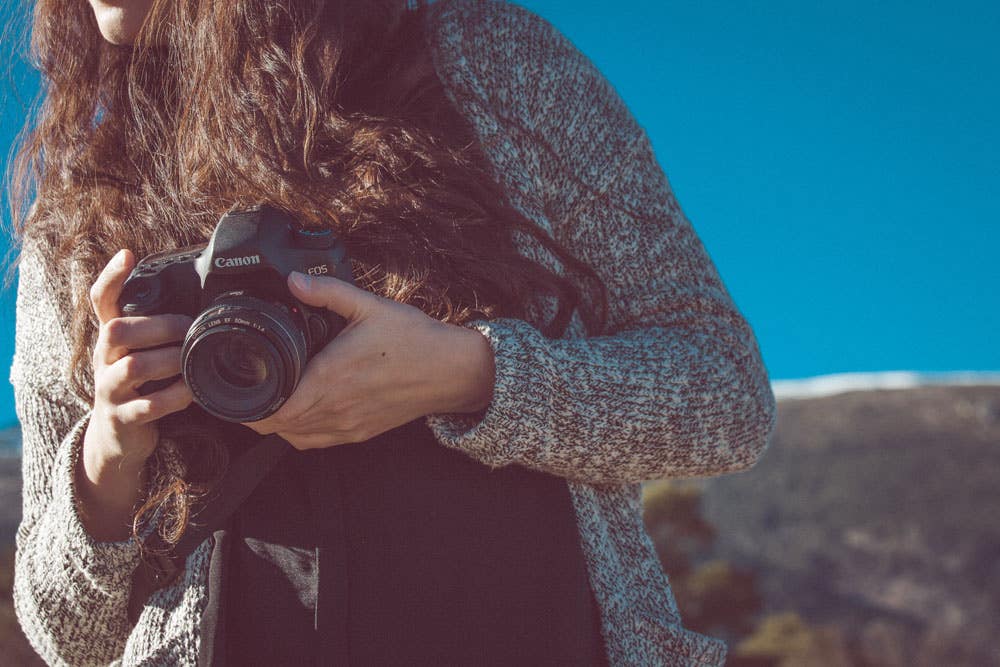
If a prime lens doesn't fit in with your budget or skill level, you can definitely use a zoom lens. They're versatile and easy to use, and will allow you to adapt to different scenes. Just don't zoom in and out while you're recording it can be jarring and distracting. If you need a closer shot, change your position.
Pro Tip: Some modern camera lenses have in-built focus motors that are more suitable to filming. Look for this feature while you're shopping around for lenses.
Control the focus
In recent years, DSLR lenses have been designed with video in mind. That being said, you might run into issues when your lens re-focuses mid-scene, and you have to start over. Lenses can also be noisy when they're shifting focus.
Autofocus is awesome for honing in on fast-moving subjects. But for everything else, turn off autofocus and manually focus your lens. This will prevent your lens from making any automatic adjustments while you're rolling. It'll also encourage you to experiment with focus techniques for a dramatic effect.
If you have an ultra-modern DSLR, it may have a rotating LCD screen with touch-sensitivity and touch autofocus. These systems are more intuitive, so play around with the function and see how it works in real time.
Tune in to the audio quality
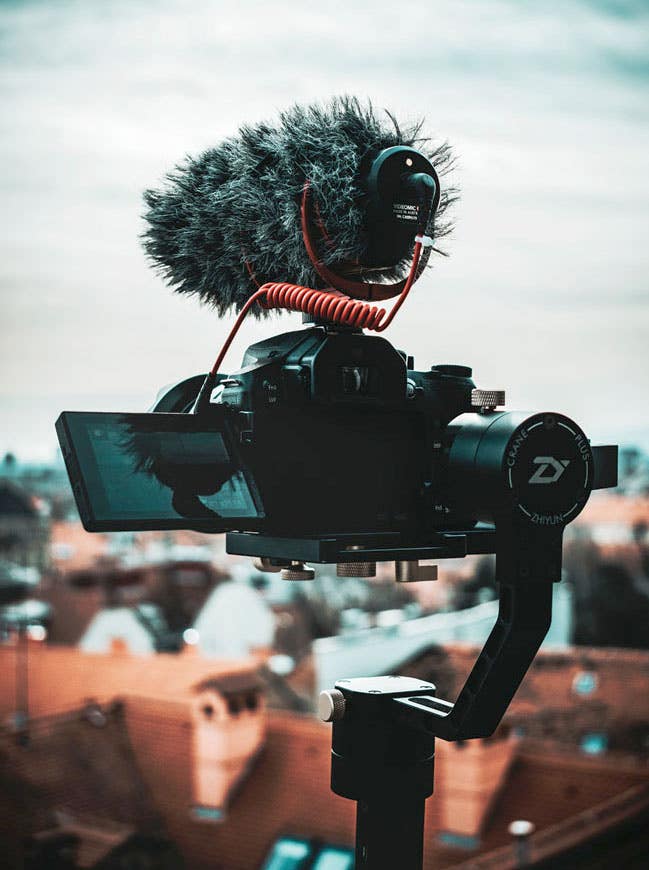
Your DSLR will have a built-in mic, but those work best in quiet environments, with close subjects. They don't suppress background noise too well. If you have an external mic output on your camera, take advantage of that. It's amazing how much of a difference it can make to your final footage.
Go for a simple hot-shoe mounted microphone, such as the Rode VideoMic Go. With this attached to your camera, you'll have a better chance of capturing clear, crisp audio.
Use a tripod
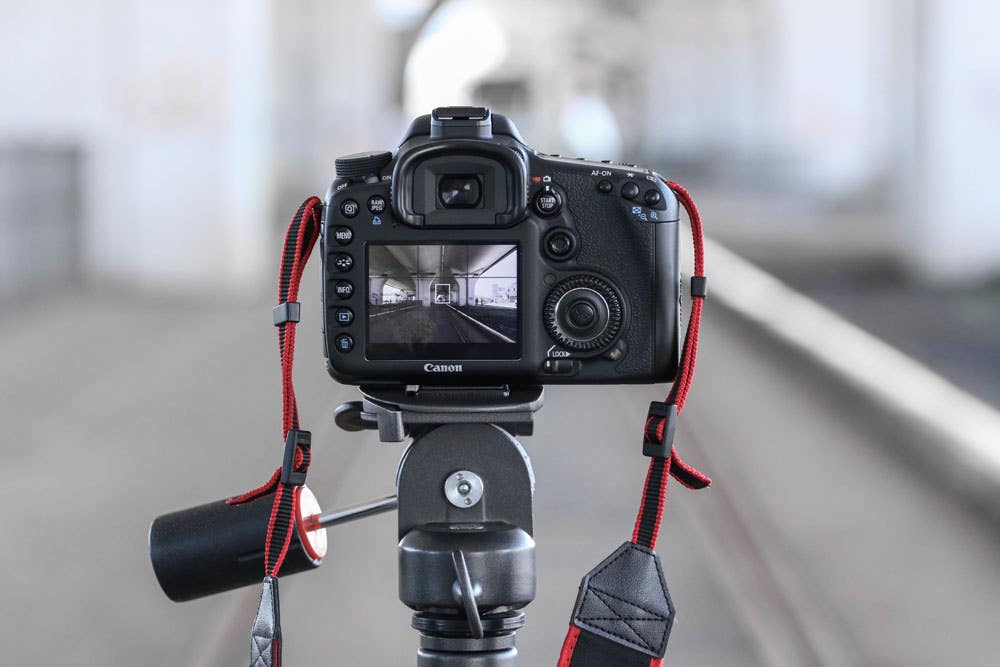
DSLR cameras are lighter than most video cameras, and that can make them tricky to stabilise. For professional footage, ditch the handheld DSLR and put your camera on a tripod. A tripod will steady your camera and eliminate any bumps and shakes. It will also help you with slow, controlled planning, or whenever you're following a subject.
To take your films to the next level, choose a tripod with a video head or a pan and title head. Trust us when we say you'll be blown away by the cinematic results!
Get expert advice on filming with your DSLR
Before you hit the 'record' button, chat to the team at Ted's Cameras. We can help you with choosing a DSLR and any accessories you might need to produce top-notch videos.


0 comments
Leave a comment