Top 5 Creative Lighting Tips for Beginners
If there’s one thing that we can all agree on, it’s that lighting is one of the most important elements that you need to understand and master if you are to improve your photography. If you’re considering getting into the more creative aspects of photographic lighting, there are a few easy tips you can follow to great results. 1. Choose your lens carefully
Here are our top 5 creative lighting tips for beginners.
1. Choose your lens carefully
Different lenses allow you to create different effects in your photograph. For example, if you want to improve your portrait photography, you could pick a lens that with a faster maximum aperture, which would, in turn, help you to create the shallow depths of field that you may desire.
Further to this, these digital camera lenses with faster maximum apertures make better use of available light, so are a better choice if you are doing your shooting handheld. If you don’t have access to artificial lighting, you should choose a lens that you can open wide up and still be able to capture sharp photos in most circumstances.


Pick up a low-light photography lens today
2. Decide on a mood for your photograph


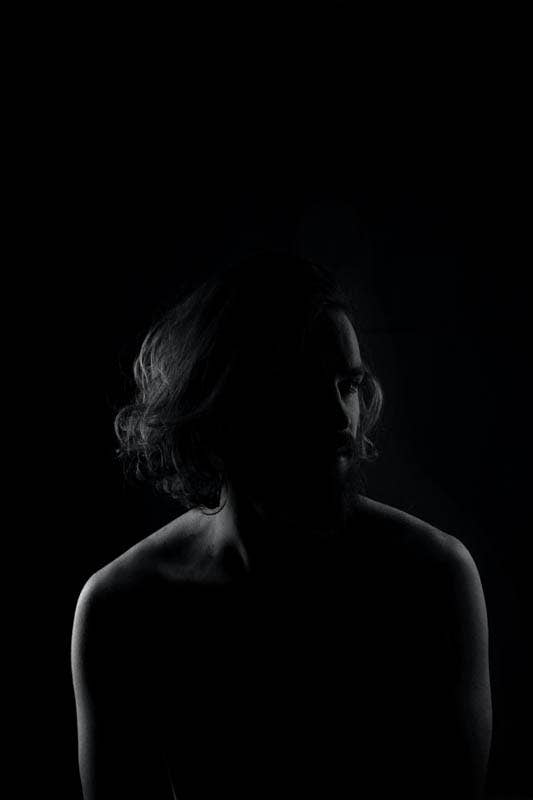
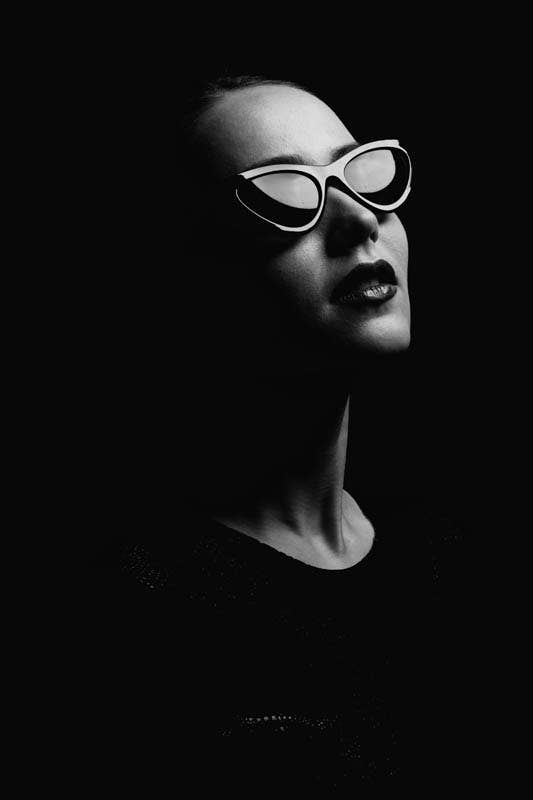
Creative lighting is about creating photographs that have a specific mood. An image that is bright and happy requires different lighting to an image that is moody and introspective, for example. Contrast is a key factor when setting the mood of a photograph, with high-contrast images often being more dramatic and low-contrast images being softer in appearance.
If you are unsure of how to tackle this, our advice is to inspect a lot of work by other photographers, taking note of how each photograph makes you feel and then taking note of the lighting choices made in the image. Is this photo taken using artificial or studio lighting? Is the lighting low-key or high-key? Once you can answer these questions easily, you will be better equipped to emulate these looks in your own work.
3. Take the light off the axis of the camera - this adds shadows
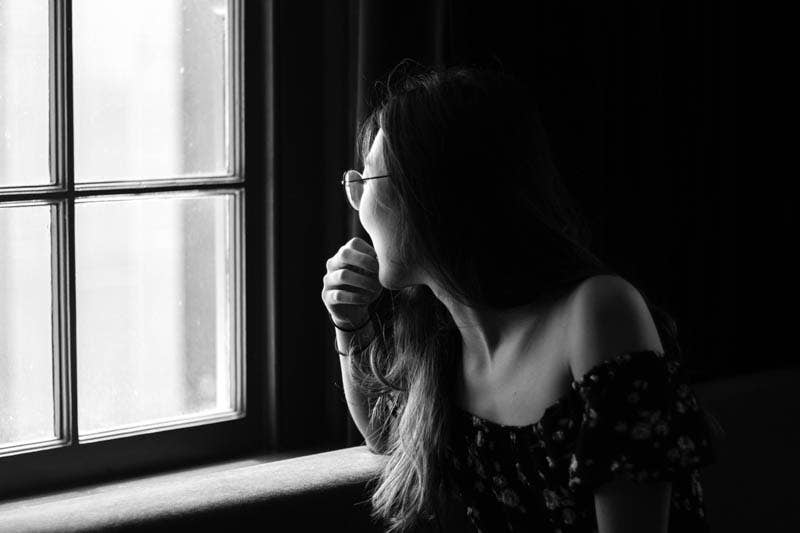
Taking the lighting off the same axis as your lens gives you lots of lighting choices and enables you to control the look of your photograph. By lighting your subject from a 90-degree angle, you ensure that one side will be well lit and one will be in shadow. If you want to lessen the effect, you simply decrease the angle of the lighting.
This light source you use for this technique can vary, from natural lighting, like a window or skylight, to artificial light sources, such as a wireless off-camera flash unit - this latter option is far easier to control.


4. Use a reflector to fill in the shadows


One of the most effective accessories that help us take our photographs from ok to great, is the humble reflector. The best thing about this accessory is that if you don’t have time to go out and purchase one before your shoot, you can make do with a white piece of cardboard.
Ideal for enhancing the quality of your one-light setup, a reflector can be used to add light to the other side of your image and control how much shadow you want in the photograph. The simplicity of a reflector makes it perfect for at-home photography solutions.
5. Round out your kit with light-shaping tools
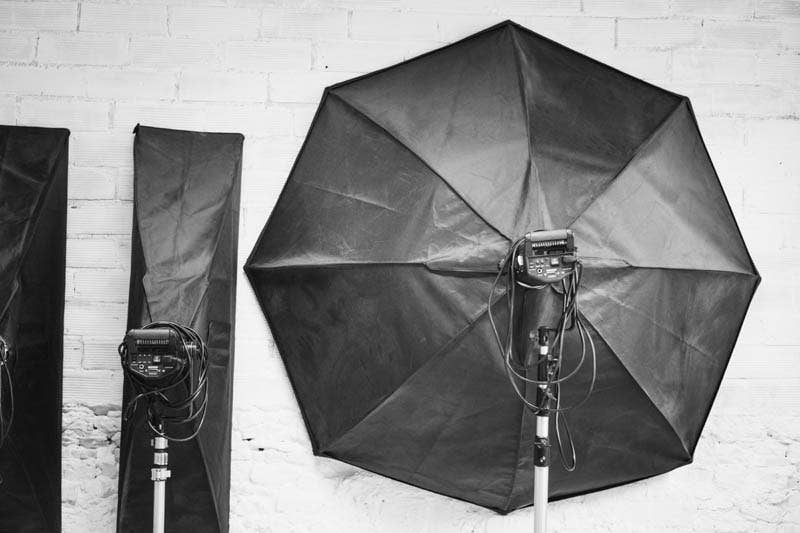
When putting together your complete creative lighting photography kit, don’t forget to add light shaping tools to your shopping list. These tools help you make your light softer or harsher, as you see fit. Some of our favourites include softboxes, which are great for a more direct source of light for your subject and umbrellas, which deliver a diffused, wider spread of lighting.
Some other essential items in your kit would be a suitable lens, which we mentioned earlier, a sturdy tripod, a reflector, and a flash setup of your choice. If you want to explore the more creative side of lighting further, you may want to invest in a remote flash trigger.


Creative lighting gear recommendations
Get creative with your lighting today
As you can see, there are plenty of ways to explore lighting more creatively, whether you are using advanced studio lighting setups or readily available natural lighting.
If you want more gear advice and photography tips, keep an eye on our Photography Blog or chat to the friendly staff at your local Ted's store.
Next Post
Using Photography and Video to Take Your Business Online
Previous Post
A Beginner's Guide to Basic Camera Settings


