6 Vlogging Camera Settings Every YouTuber Needs To Know
As the popularity of vlogging skyrockets, more and more people are trying their hand at video content creation. And thanks to the massive improvements to video camera technology, it’s more accessible than ever. Whether on YouTube, Twitch, Facebook Video, or Tik Tok - starting a vlog is a great way to share your passion and creativity.
With so many beginner vloggers entering the scene, we’ve taken this opportunity to round up the six best vlogging camera settings you should know to help you make your mark on content creation.
Whether you’re starting a travel vlog, want to make a name for yourself as a fashion vlogger, or simply want to vlog about your daily life, start shooting stunning videos that engage your audience using our expert advice. Read on to discover the best camera settings for vlogging, recommendations from the best vlogging cameras and equipment available to purchase from Ted’s Cameras.
1. Video Quality
Producing captivating online content starts with recording the best possible video quality.
Video quality is represented by its resolution, e.g. 1080p and 4K. 1080p has 1920 pixels horizontally and 1080 pixels vertically, while 4K video has 3,840 pixels horizontally and 2,160 pixels vertically. Shooting in 4K means you are effectively shooting at 4x the resolution of 1080p, roughly more than 8 million pixels versus 2 million pixels for 1080p.
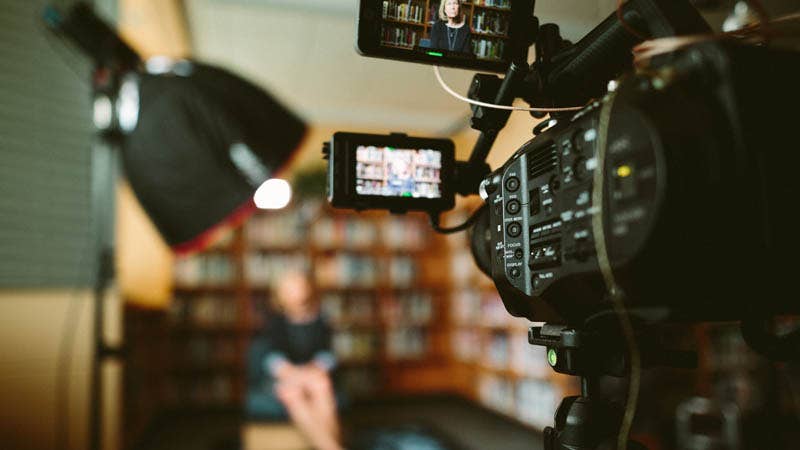

However, recording video at higher resolutions means larger file sizes in your camera. If you plan on shooting in 4K, we highly recommend investing in a sizeable memory card to ensure you don’t run out of space.
Find a Memory Card to suit your camera
2. Frame Rates
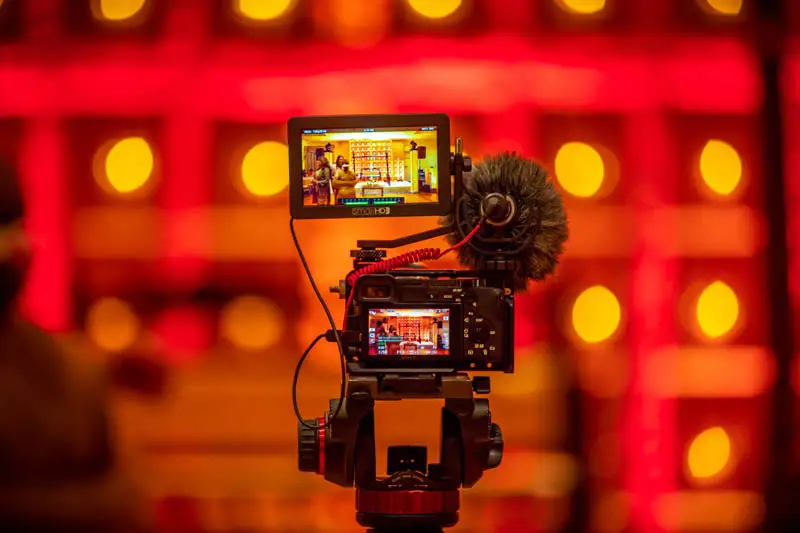

Frame rates are another critical factor in video quality and file size. Movies filmed for the cinema, for example, are typically filmed at 24 frames per second (fps) as this was determined (way back during the inception of Hollywood) to be the minimum speed needed to capture video while still maintaining realistic motion. With the invention of television, the standard frame rate chosen was 30 fps. The additional six vision frames made image quality much smoother, especially for fast-moving content like sports.
Although you won’t necessarily be producing your content for the big screen or the silver screen, your chosen frame rate will impact your video. Online video sites like YouTube allow frame rates up to 60fps - a standard becoming popular with video game streamers.
As your vlogging skills improve, you can experiment with different frame rates to achieve other effects, like slow motion, which is possible at faster frame rates above 60fps. And similar to video quality, a quicker frame rate equals a larger file size. In our experience, unless you plan on screening your film in a cinema, recording at 30fps is more than enough for vlogging or online video content.
3. Shutter Speed
This setting and the three following require you to set your camera to manual exposure mode. These three settings impact the exposure of your shot–the amount of light captured by your camera.
The first setting you should look at to tweak the exposure of your blog is shutter speed.
Shutter speed is the length of time the physical shutter in your camera is open during exposure. When filming videos, it indicates the amount of time each frame is exposed. Because of this, shutter speed is deeply linked to the frame rate of your video content.
To achieve the smoothest and most cinematic results, set your shutter speed to about double your frame rate, e.g. if your frame rate is 30fps, your shutter speed should be 1/60th of a second.
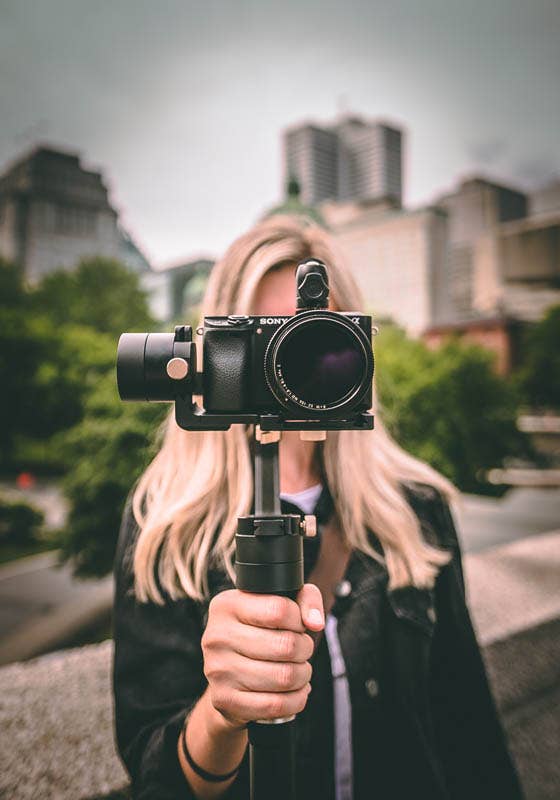

4. Aperture
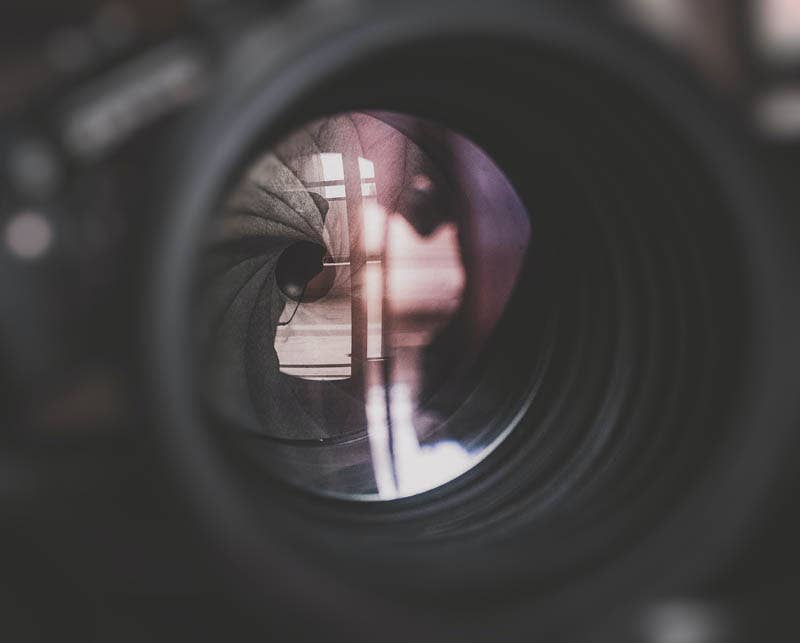

Aperture is a fancy word for the hole at the end of your lens: the wider your aperture, the more light enters, and the brighter your video. Your aperture size also determines what's in focus, which can make a significant difference to the appearance of your video.
While there’s no hard and fast rule for aperture settings, a larger aperture will help you create shallow depths of fields and is often one of the best settings for YouTube videos that focus on only a small area, like the subject or foreground. Conversely, a smaller aperture will let less light into your shot, allowing you to keep more items in your frame in focus.
Top tip: Coupled with shutter speed and ISO, your aperture size is one of the best camera settings for well-exposed and focused videos.
5. ISO
Your camera’s ISO settings determine its sensitivity to light. Represented by a number, the higher your ISO setting, the more sensitive your camera is to light, and vice versa. Depending on your lighting conditions, your ISO can significantly impact the look and feel of your video.
To determine which ISO setting to choose, pay attention to your camera's light meter, which measures the amount of light on a scale from negative to positive. Adjust your settings accordingly until your reading is in the middle of the meter.
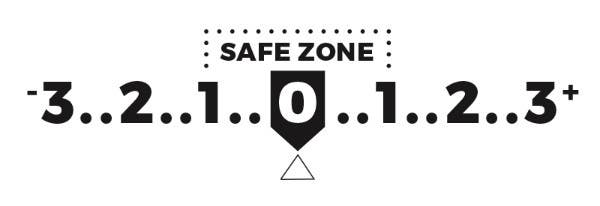

Top Tip: A light meter reading of (+) means your image is overexposed and too bright, while (-) means it’s underexposed and will be too dark.
6. White balance
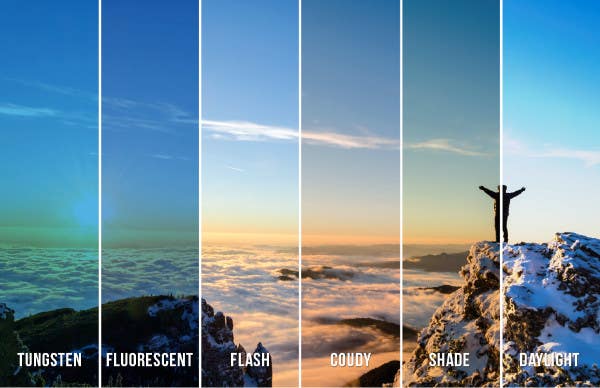

Your white balance relates to how your camera processes colours. White balance works by removing colour casts to ensure that white objects appear white in your stills or footage.
If you’re just starting, the automatic white balance camera setting should do the trick, but as your vlogging skills progress, you’ll learn how to adjust the white balance manually. White balance will allow you to customise the lighting and colours in your footage and create videos with a signature “look” and feel.
Bonus Tip: Don’t forget about your audio & lighting
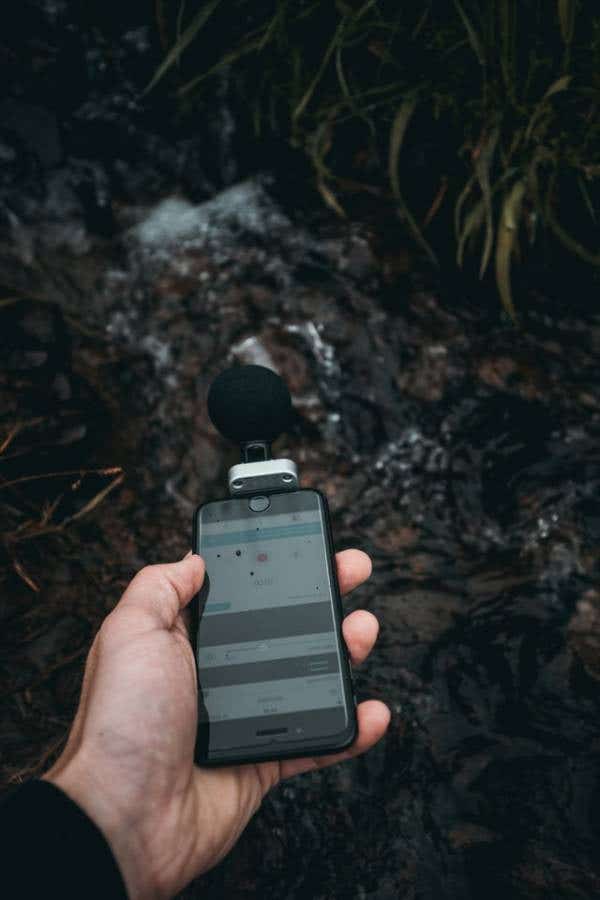
Audio is considered one of, if not the most, important aspects of a vlog. If you’ve ever watched a YouTube video with bad audio, you can probably agree that clear, crisp audio can make a world of difference to your experience when watching a vlog.
Most of the time, the microphone included with your camera or smartphone will not capture the best audio for your vlog. We highly recommend investing in an external microphone if you want to avoid sounding like an amateur. Check out our guide on how to choose an external microphone to upgrade your vlog’s audio.
Studio lighting equipment can also dramatically increase the quality of your video, making it easier to expose your content and achieve your desired style. Bright, even lighting is essential to crafting high-quality videos that keep your audiences coming back for more.
Budding vloggers and live streamers should consider investing in LED lights. Those not keen on spending too much on video lighting should opt for the most affordable lighting option for vloggers–a reflector. These reflective pieces of fabric bounce and redirect light and are great options to improve your video's quality without resorting to a full studio lighting setup.

Check out our lighting buying guide on YouTube for more information about studio lights for vlogging.
Shop the best vlogging cameras today
Good quality videos start with the right camera settings
Now that you know the best camera settings for YouTube videos, it’s time to get shooting. From food videos to travel vlogs and everything in between, the world of vlogging offers endless opportunities for you to develop your creativity and storytelling skills.
Shop the best vlogging cameras and vlogging equipment at Ted’s Cameras today. If you’re looking for more vlogging tips to help you start a successful YouTube channel, learn everything you need to know on our blog!
Next Post
Canon Powershot G7X Mark III in Review
Previous Post
The Ultimate Guide to Buying a Tripod


